We deliver countrywide! Order now to start saving water!

Follow this easy step-by-step guide to DIY install your Eco Dam.
Make sure your surface is 100% level where you intend to install your Eco Dam.
The surface area must be at least 2m in diameter larger than the Eco Dam you order.
Use a dumpy level to ensure 100% accuracy.
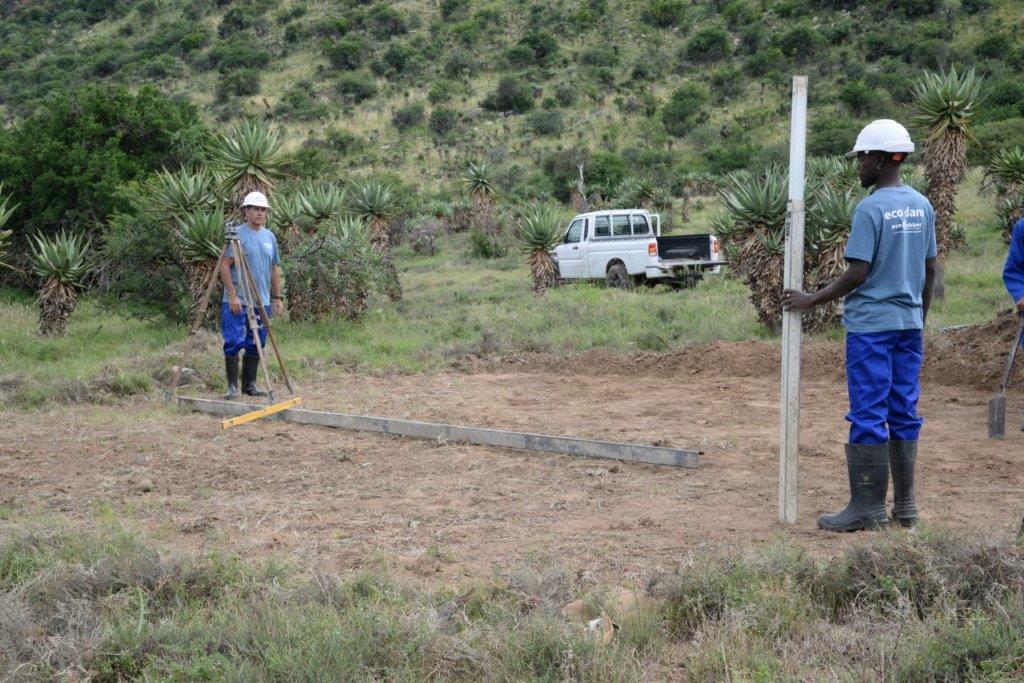
Draw a circumference from the centre of the allocated space.
The circle must be the same diameter as that of the Eco Dam you’re planning to install.
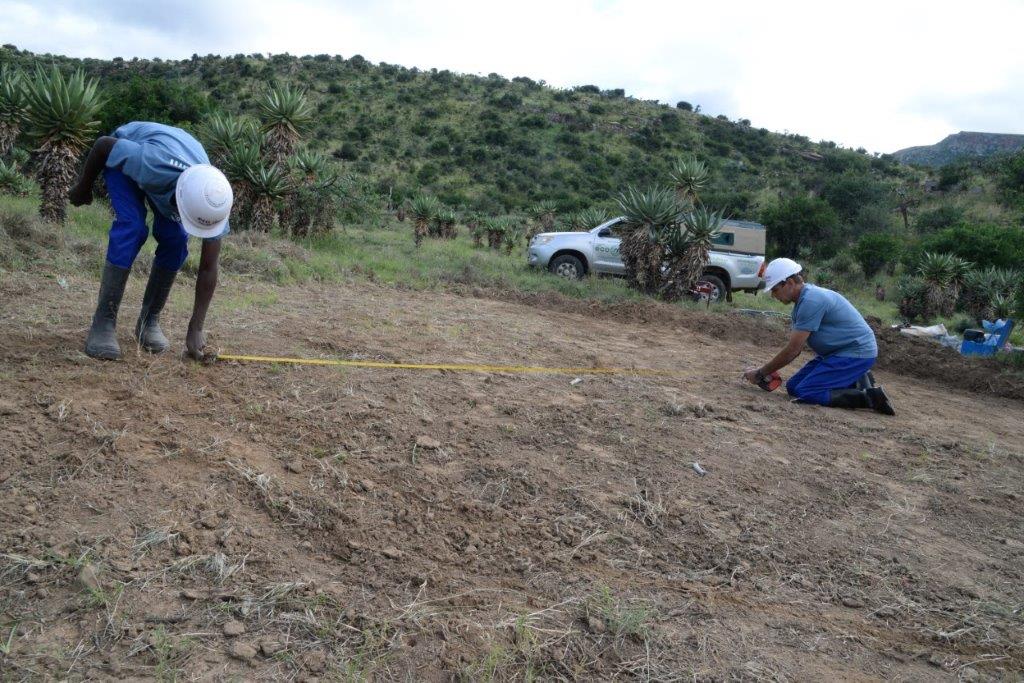
Install rebar or metal pins one metre apart along the circumference, all the way around.
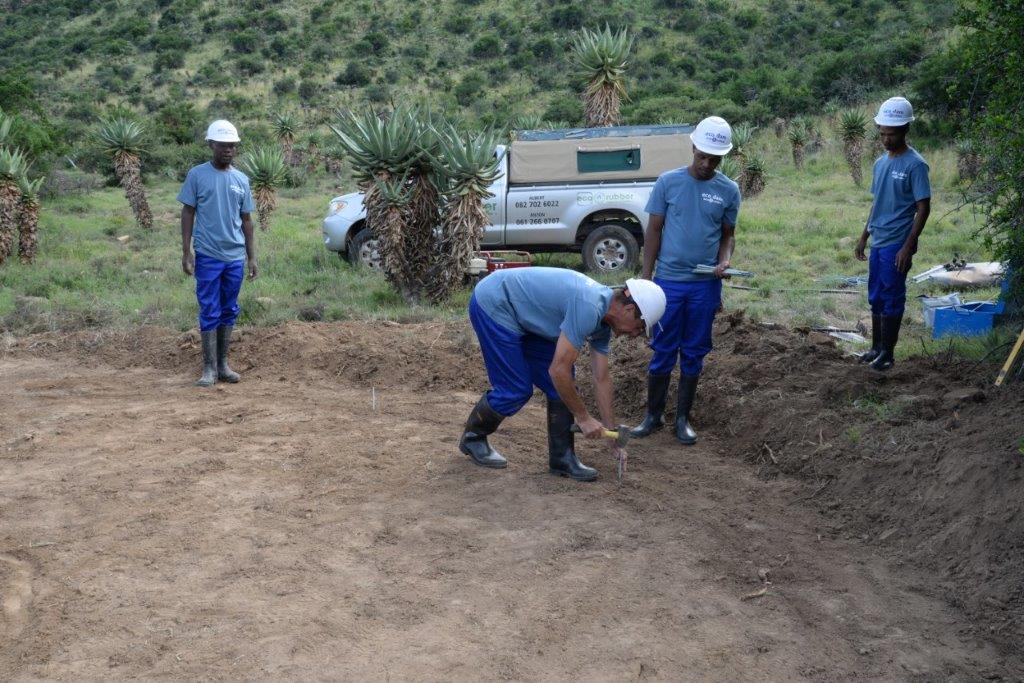
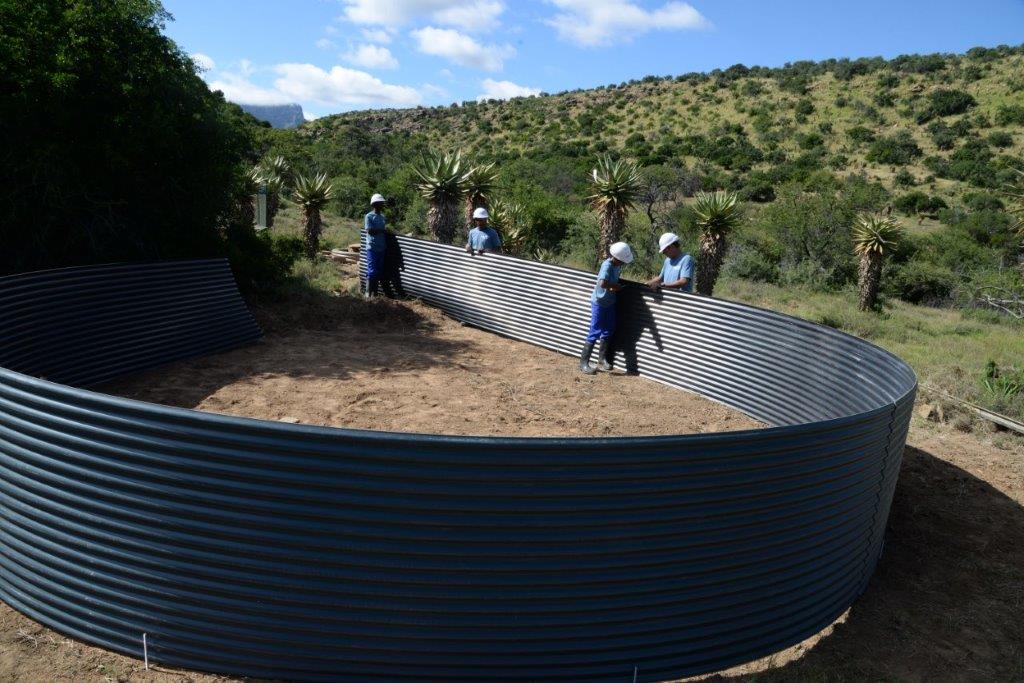
Bolt together the Eco Dam sheeting. All sheets are clearly marked (A to A, B to B, etc), making it simple to connect the right pieces together.
The Eco Dam comes in six standard sizes, although you can order a custom size.
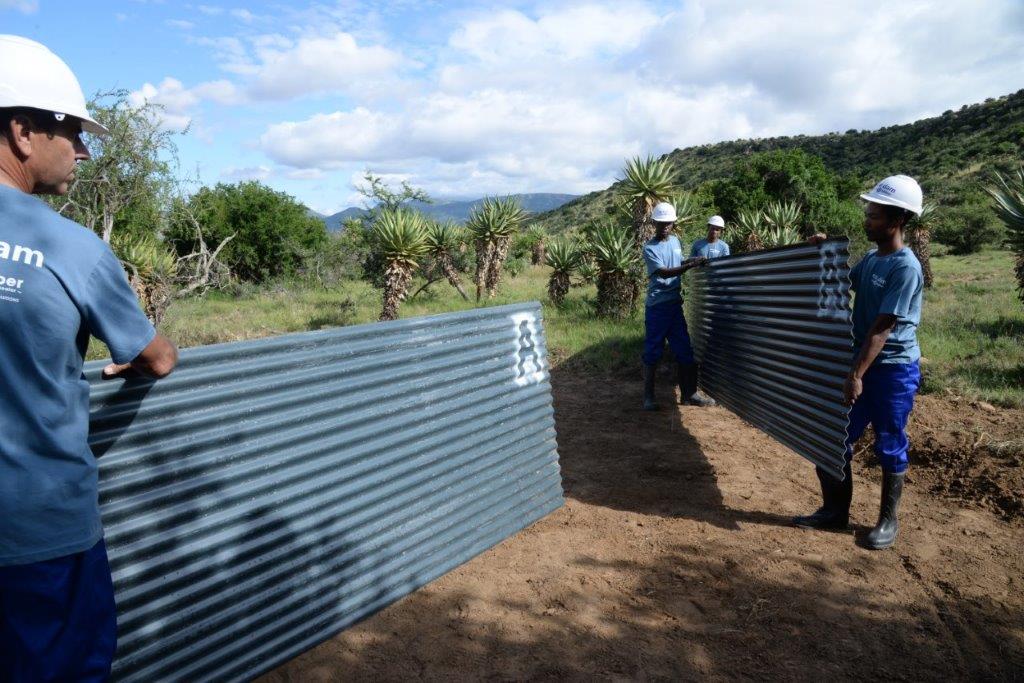
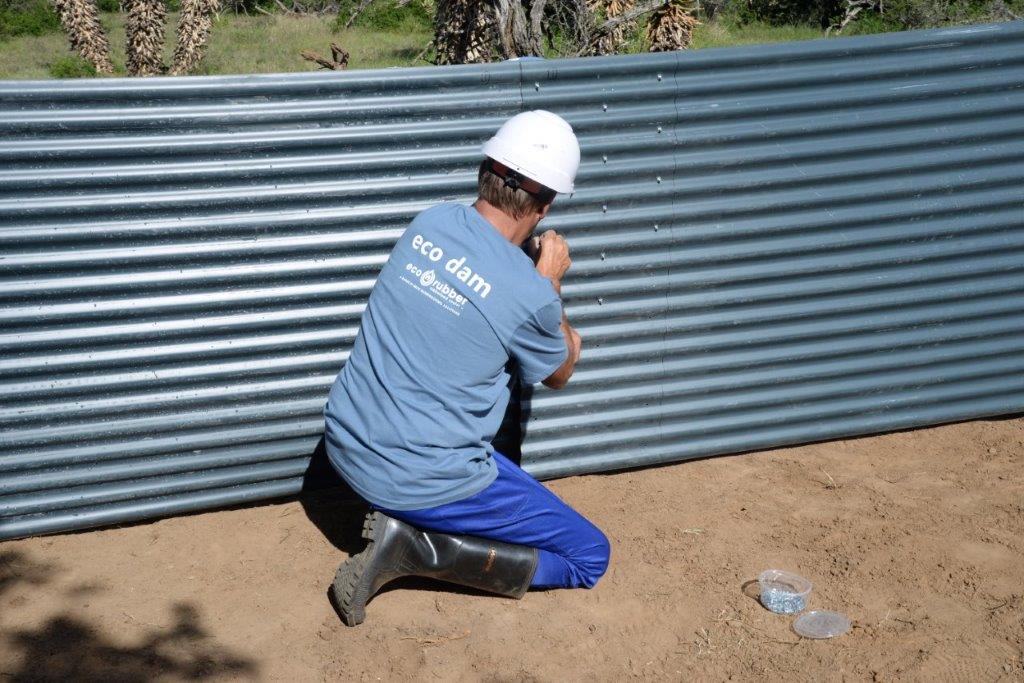


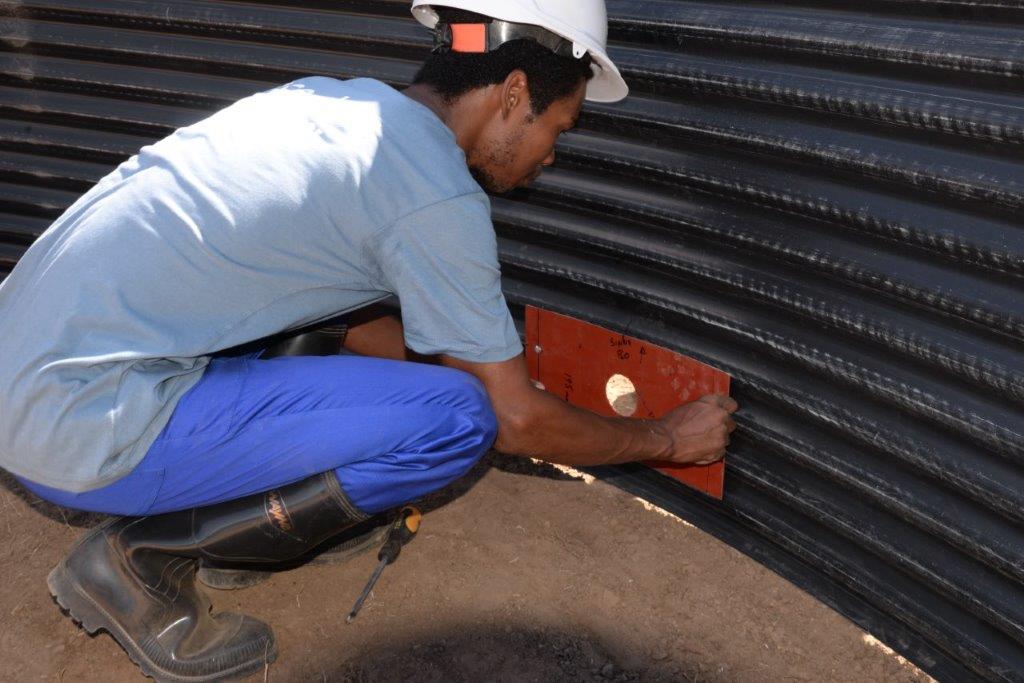
Connect the pre-drilled outlet plate to the allocated area on one of the sheets.
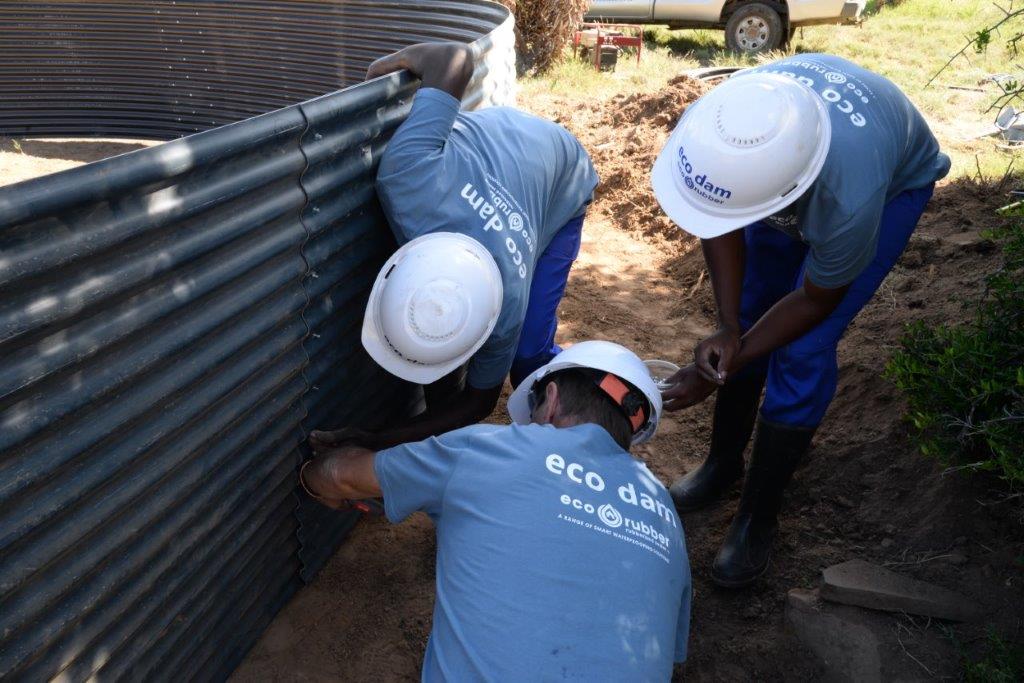
Ensure that the surface inside the dam is clear of debris, stones and sharp objects.

Place included PVC liner inside the dam and open.
Ensure that the double patch aligns with the outlet sheet.
Ensure that the liner is tucked into the seam where the dam floor meets the dam wall.

Pull the liner from within, over the edge of the Eco Dam.
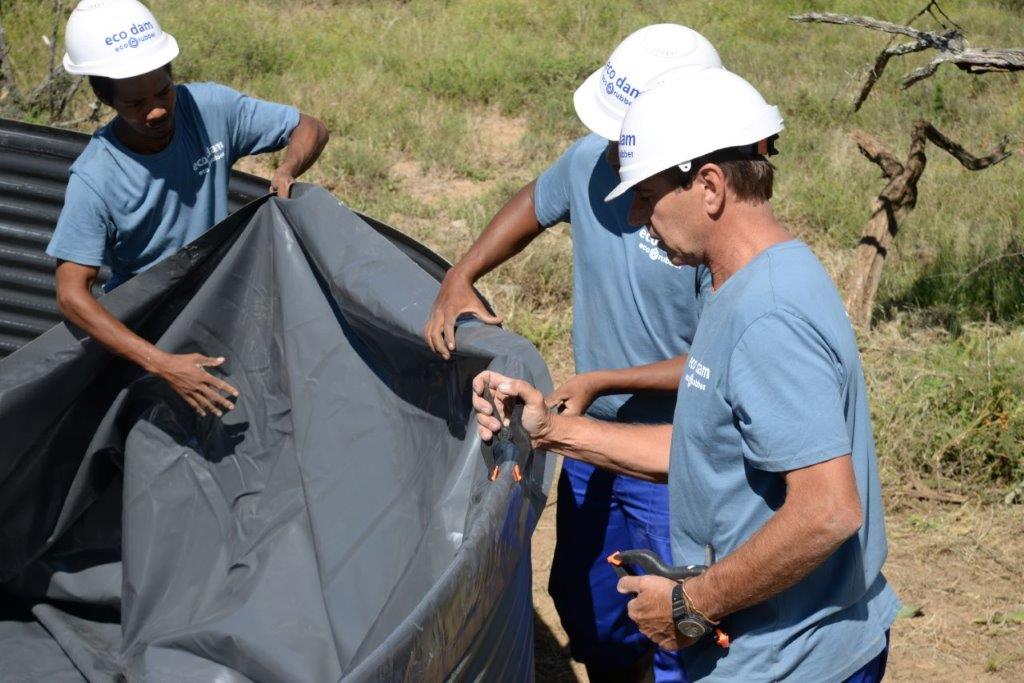
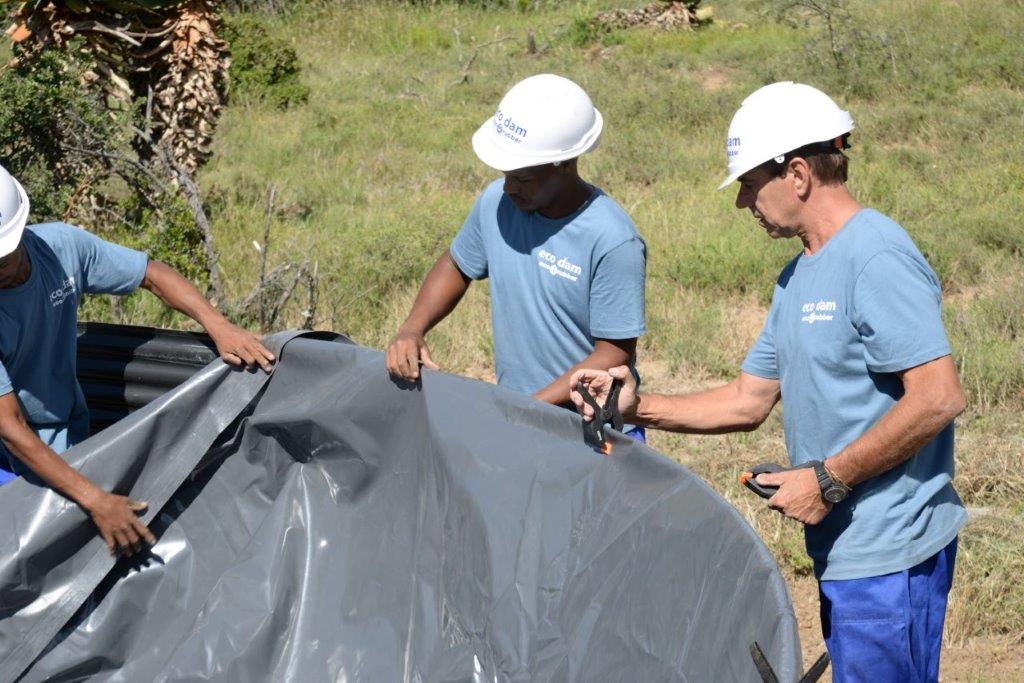
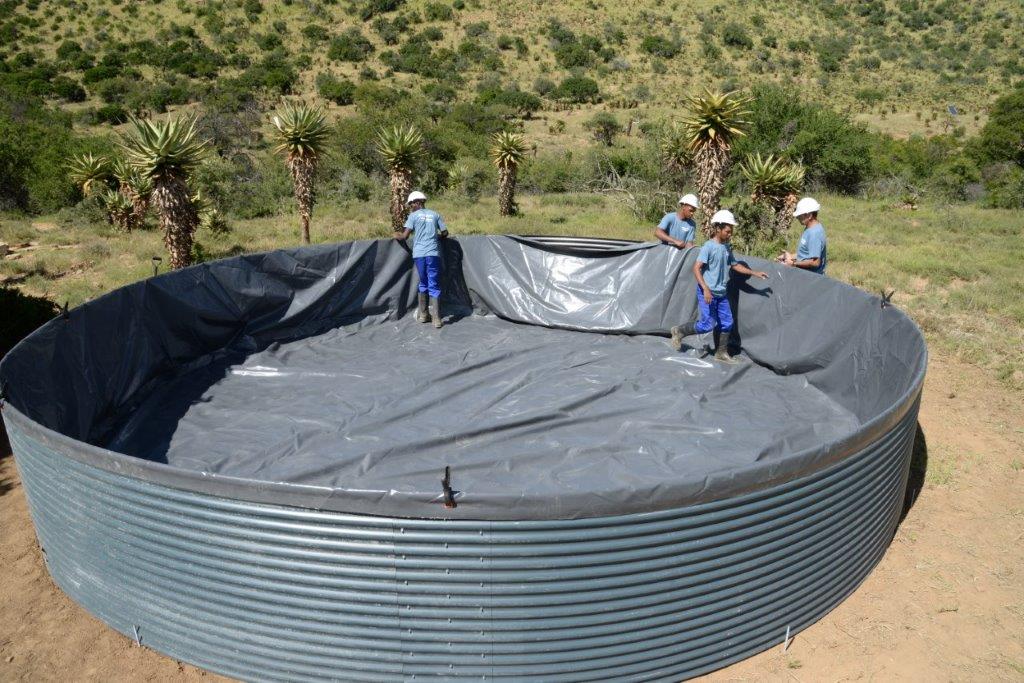
Mark the spot on the PVC liner that aligns with the outlet hole on the outlet plate, and cut out using a pair of scissors.
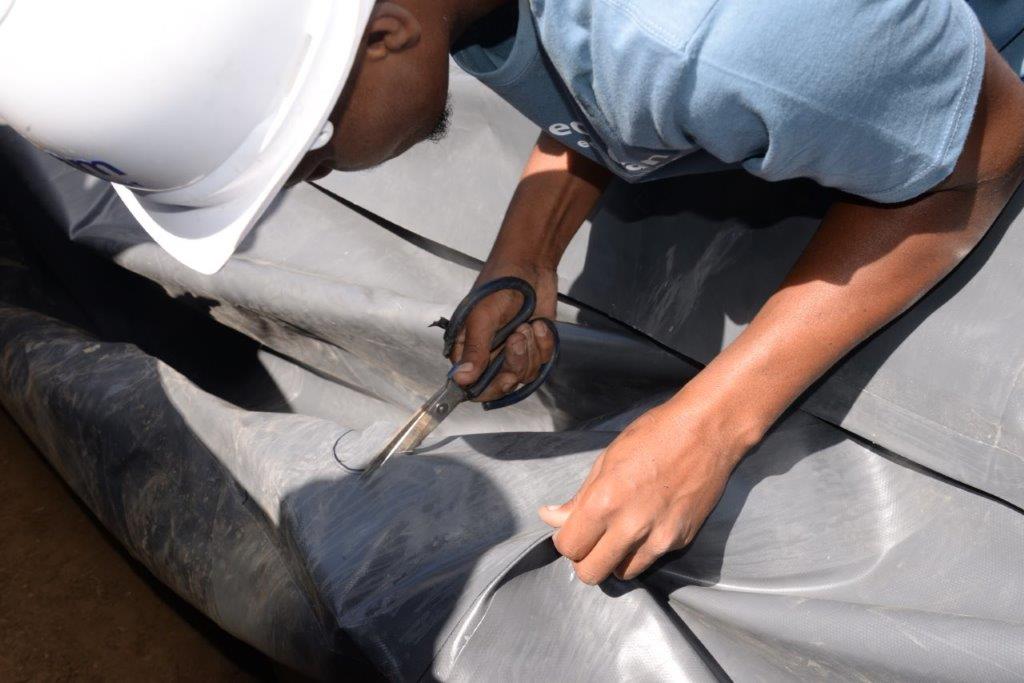
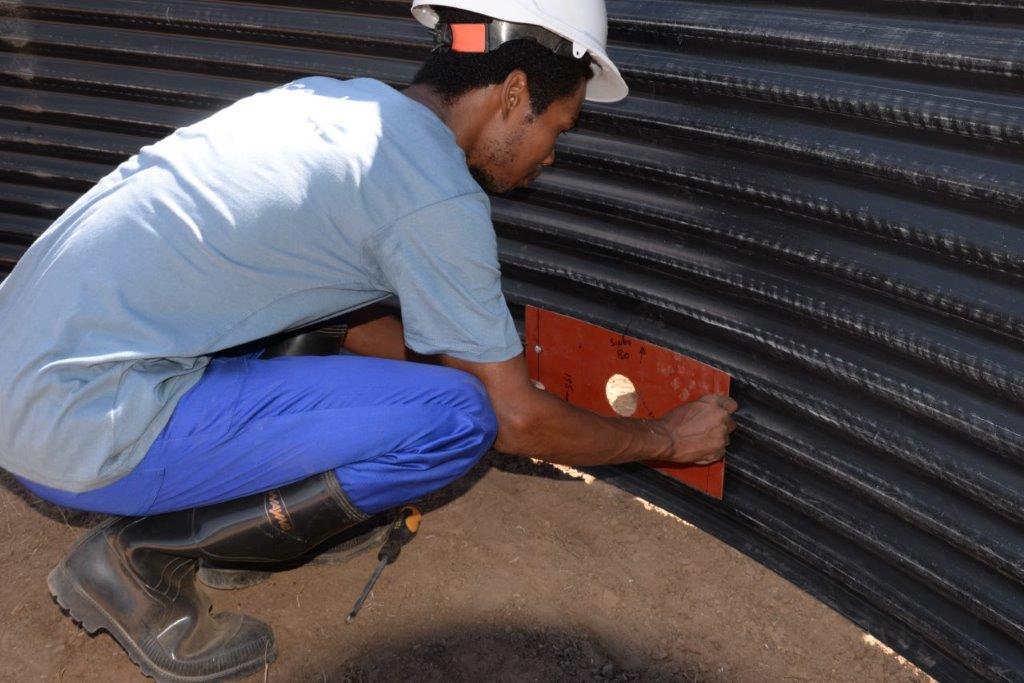
Fasten the included tank connector through the liner and outlet plate.
Ensure you use thread tape (properly).
Connect the included ball valve to the tank connector.
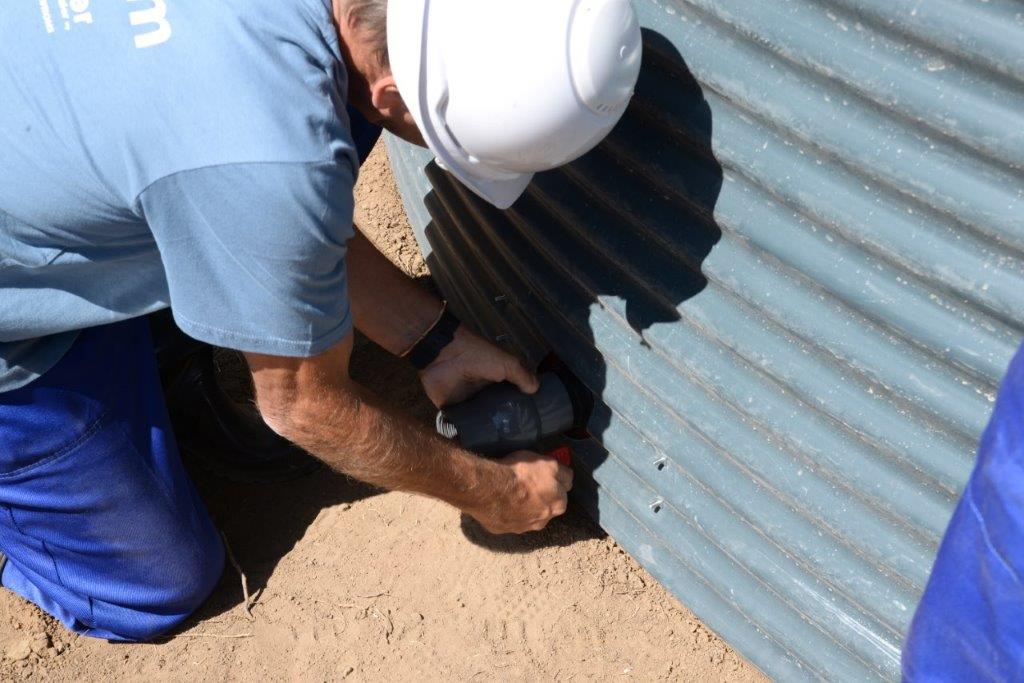
Drill 4.8mm holes along the top edge (on the third corrugation from the top) of the Eco Dam, spaced 1m apart, and fasten included rivets.

Fasten included high-string wire around top edge of the dam and tension with included speed tensioner.

Fasten two included cables along the bottom third of the dam and tension with turn buckles.

Add at least 200 mm of water immediately, to ensure stability.
Please activate your license to enable all features and receive new updates.